Hello fellow friends, just playing a bit with a Bot + slack decide to test locally with NPM + node.js which is just an easy go, it gets more complex when you build up the message structure as this is not an A.I we have to foresee the questions and responses.
Lets get down to it
Installing Node and NPM
1) Visit the official Node.js website to get the installer.
2) After download, run the installer.
3) Restart your computer to ensure the changes can take effect.
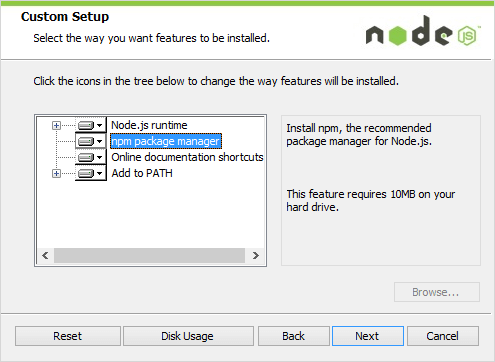
The Node.js installer should have also installed NPM for you. To confirm that you have installed both properly, you’ll need to open Windows Command Prompt if you’re on Windows, or Terminal if you’re on Mac or Linux.
To check if you installed node:
node -v
To check if NPM is installed
npm -v
If both of the commands return results we are good to go.
Initializing our Project and Installing Slackbots.js
Create a folder anywhere you’d like to serve as the root directory for your bot. Navigate to that folder and initialize a new project by running
npm init
Feel free to enter in whatever information you’d like. After that finishes running, you will be left with a file called.package.json
Now, to simplify our interactions with Slack’s Real Time Messaging API, we will be using the Slackbots.js library. To install Slackbots.js for use in our project, run the installation command:
npm install slackbots – -save
We are now ready to use Slackbots.js in our code!
Creating a New Slack bot
Let’s register a new bot on our slack instance. Head on over to:
https://yourinstancehere/services/new/bot
Replace withinstance the name of your Slack instance. Once here, give your bot a name. We’ll call our bot AD-BOT.
After you hit,Add bot integration you’ll be provided with your bot’s API token. You’ll need this, later on, to save this somewhere. Additionally, you can also change the name of your bot, upload an icon, and set what channels your bot will operate inside.
Building our Bot
In the same directory that your package.json lives in, create a new file called.index.js This file will serve as the code for your bot.
This is my first code but you can adjust for your purposes
// create a bot
var SlackBot = require(“slackbots”);
var channel = “YourchannelHere”;
var bot = new SlackBot({
token: “YOURTOKENHERE”,
name: “AD-BOT”
});
bot.on(“start”, function() {
bot.postMessageToChannel(channel, “Welcome to Active Directory Channel”);
console.log(“BOT is now Live!”);
});
bot.on(“message”, function(data) {
if (data.type !== “message”) {
return;
}
handleMessage(data.text);
});
function handleMessage(message) {
switch(message) {
case “hi”:
case “hello”:
sendGreeting();
break;
default:
return;
}
}
function sendGreeting() {
var greeting = getGreeting();
bot.postMessageToChannel(channel, greeting);
}
function getGreeting() {
var greetings = [
“hello!”,
“hi there!”,
“Hi! Hope you are having fun today!”,
“how do you do!”,
“Howdy”
];
return greetings[Math.floor(Math.random() * greetings.length)];
}
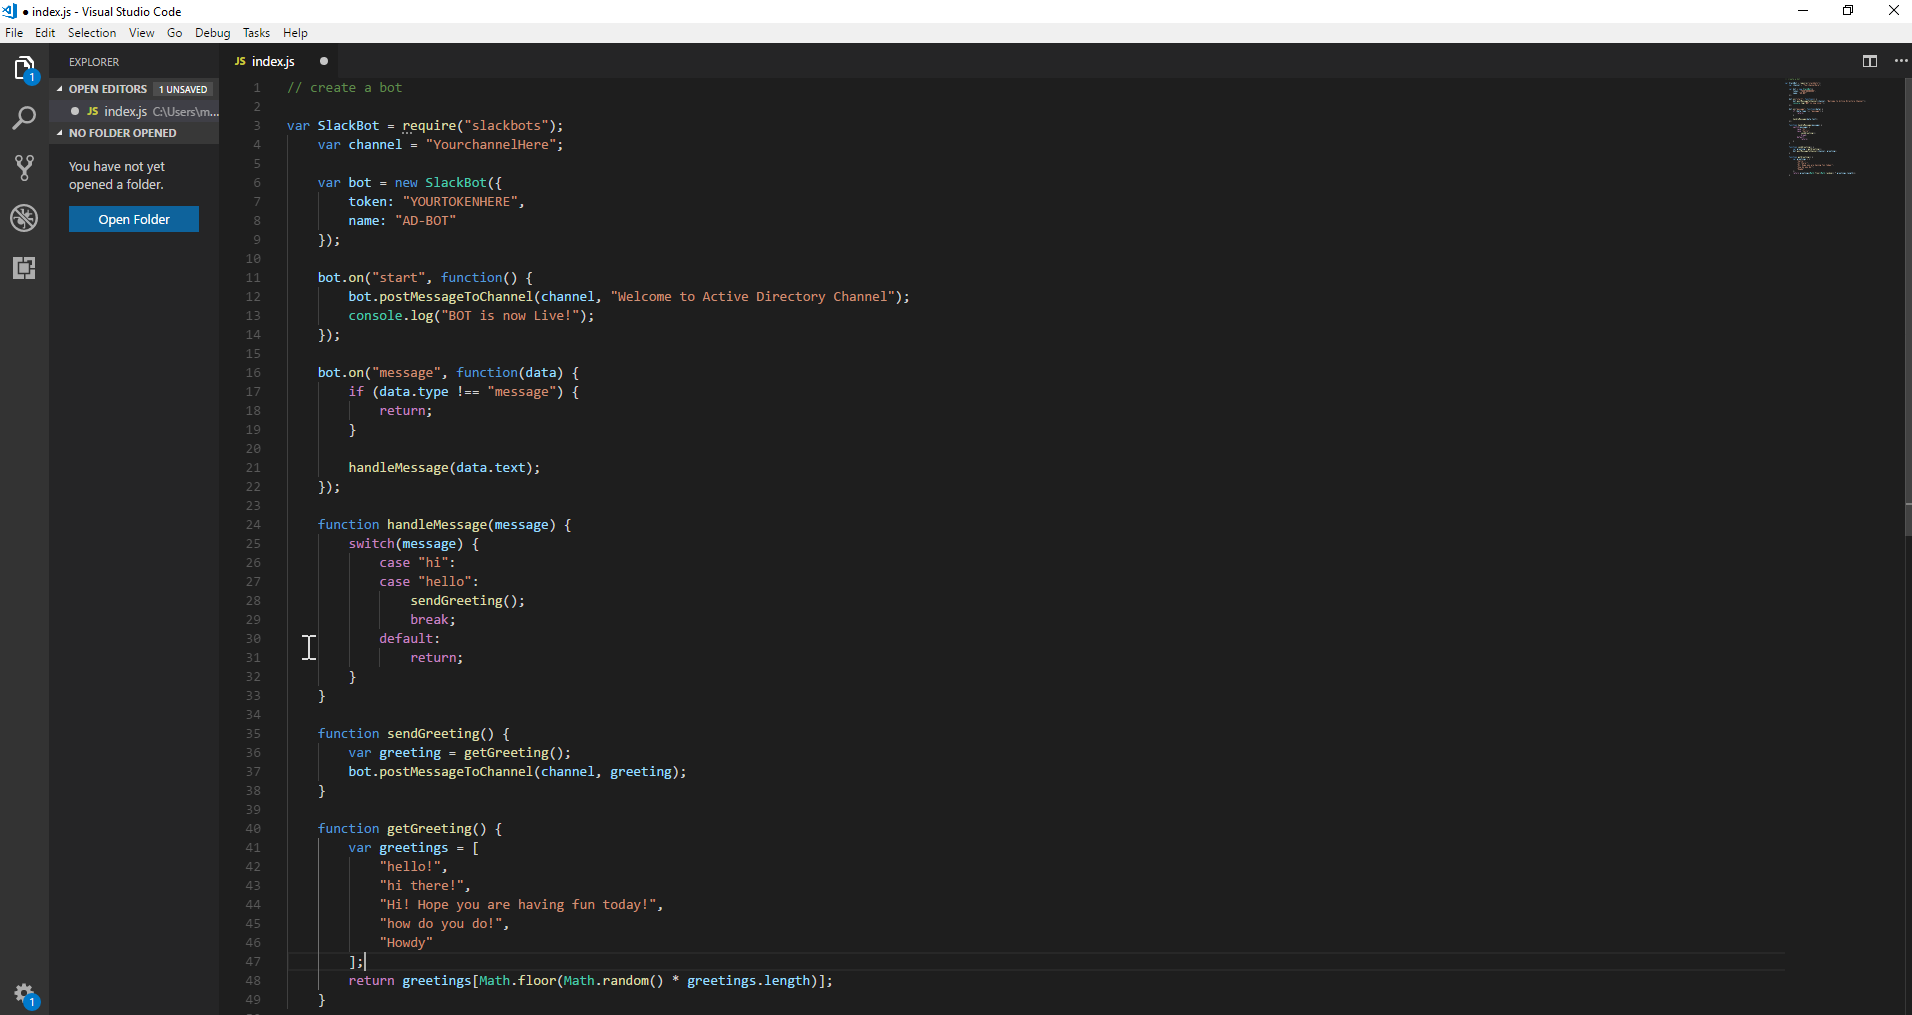
Our new code has our bot listen on the start event which is fired when a connection to Slack is established. Once the event fires, it will run the provided function. In that function, we tell our bot to send the text Hello world! to the channel you defined in the channelvariable. Finally, we threw in a console.log just for good measure.
Now it’s time to run our bot. To do so, simply run your index.js file by running this command at the same directory:
node index.js
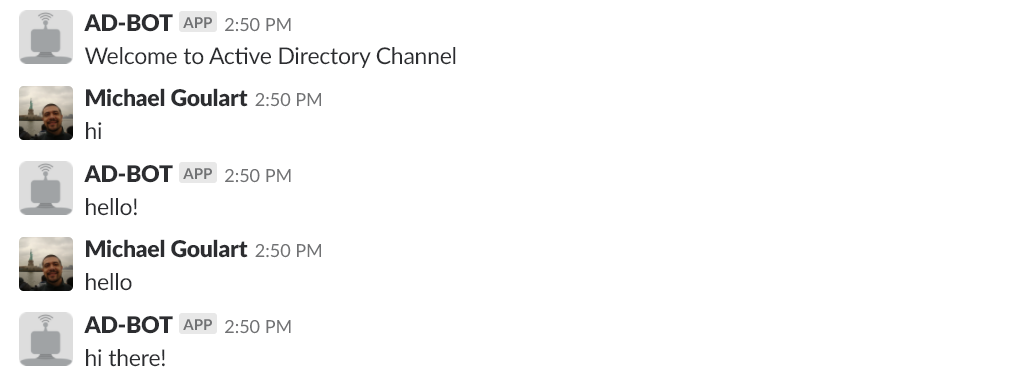
If everything went well, not only should you see printed BOT is now Live! on your console, but if you go to the designated channel on Slack, you should also see your bot saying Welcome to Active Directory Channel in your channel, you can change that accordingly.


0 Comments